
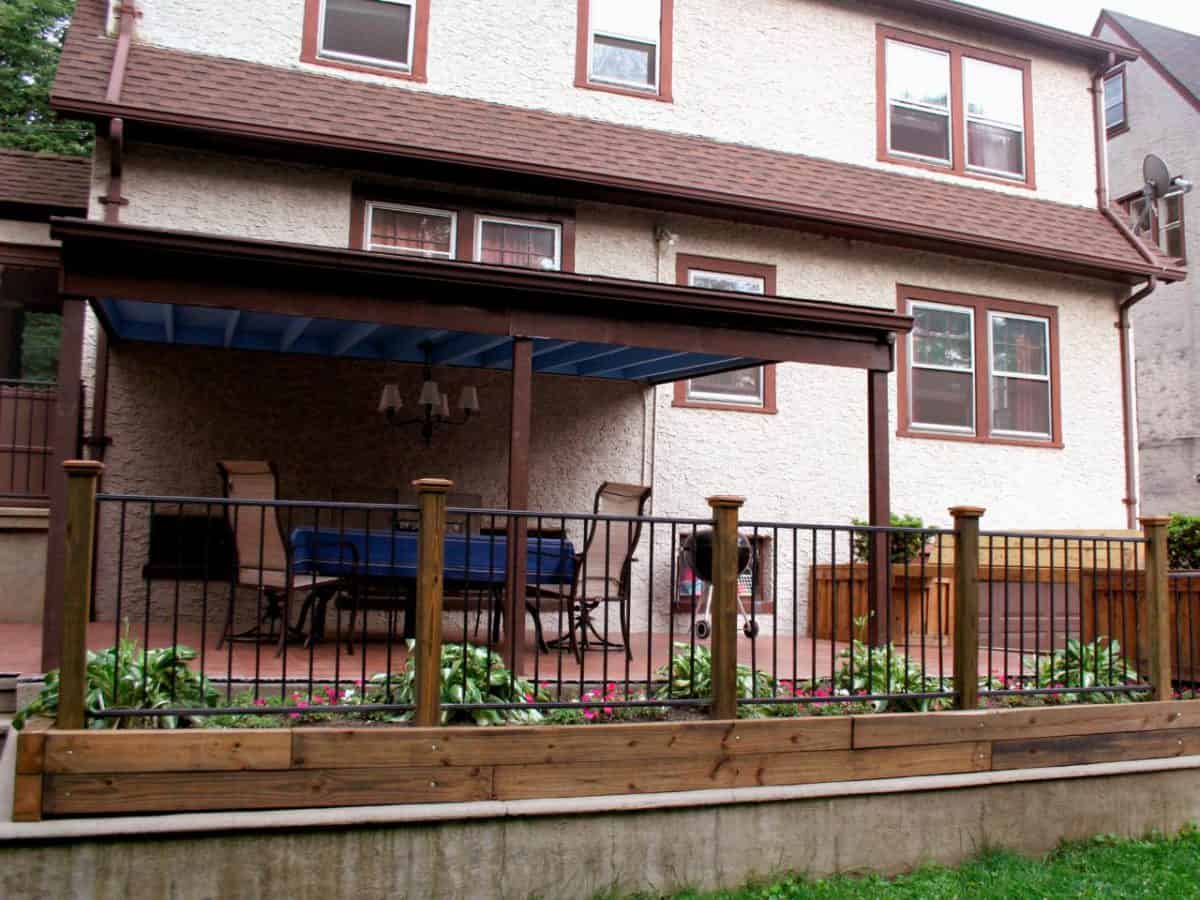
The Ultimate DIY Guide to Building a Balcony
Balconies can provide a peaceful escape from the hustle and bustle of everyday life, offering a space to relax, enjoy the outdoors, and even grow a garden. So if you’re lucky enough to have an outdoor space, but it’s not quite up to your standards, why not take on a DIY balcony project?
Not only can building your balcony be a fulfilling and rewarding experience, but it can also add value to your home. In this ultimate DIY guide, discover the world of do-it-yourself balcony construction! Then, learn how to create your outdoor paradise with simple steps.
Planning and Designing Your Balcony
Before diving into the construction phase of building a balcony, planning and designing the space to ensure it meets your needs and fits seamlessly with the rest of your home is important. First, consider the purpose of your balcony – will it be a space to relax, entertain guests, or grow plants? Next, choose the right location for your balcony, considering factors such as sunlight exposure, privacy, and accessibility.
Measure the area where you plan to build your balcony to ensure it will fit comfortably within your outdoor space. Design considerations include the style of the balcony, the railing and flooring materials, and any additional features you may want to include, such as lighting or built-in seating.
Finally, choosing the right materials for your balcony is crucial to its durability, longevity, and aesthetic appeal. Options include wood, composite materials, and metal, each with benefits and drawbacks.
Building a Balcony: Step-by-Step Guide
Building a balcony is an exciting project that can significantly enhance the look and feel of your home. However, it requires careful planning and execution to ensure a safe, sturdy structure that complies with local building codes. Here is a step-by-step guide to building a balcony:
Step 1: Obtaining Necessary Permissions
Before starting the project, these steps are crucial to ensure that your balcony project complies with building codes and regulations. Please obtain the necessary permits and approvals to avoid costly fines and legal issues. Hiring a professional contractor can provide peace of mind and ensure the project is completed safely and to a high standard.
It’s always better to take the necessary precautions and comply with regulations to avoid any potential problems down the line.
Step 2: Preparing the Site
Preparing the area where the balcony will be installed is essential in the construction process. Clearing the area of any debris or obstructions is necessary to ensure a safe and efficient work environment. The surface where the balcony will be installed should also be level to prevent structural issues.
If the area is not level, excavation may be necessary to create a level surface. By preparing the area properly, you can ensure a strong foundation for your balcony.
Step 3: Installing the Support Structure
Choosing the proper support structure for your balcony is crucial to its stability and durability. There are several options available, including cantilevered, post-supported, and ledger-supported structures. Once you’ve chosen the type of support structure, you can begin installing the support posts and beams.
It’s essential to ensure they are securely anchored into the ground and, if applicable, into the wall to prevent structural issues. You can provide a strong and safe balcony by taking the time to install the support structure properly.
Step 4: Installing the Flooring and Railing
Choosing the right type of flooring and railing for your balcony is important for aesthetic and safety reasons. Options for flooring include wood, composite materials, and concrete, while railing materials can consist of wood, metal, or glass. Once you’ve chosen your materials, it’s crucial to install the flooring, making sure that it is level and securely attached to the support structure.
Installing the railing is also crucial to ensure the safety of those using the balcony and compliance with local building codes. By taking the time to install the flooring and railing properly, you can create a beautiful and safe outdoor space.
Step 5: Adding Finishing Touches
Once the construction of your balcony is complete, it’s time to add the finishing touches to make it a beautiful and functional outdoor space. First, paint or stain the balcony to your liking, ensuring it complements the rest of your home’s exterior. Adding furniture and accessories can make the balcony more inviting and functional, whether you choose to include seating, tables, or outdoor lighting.
Consider adding plants and greenery to enhance the space’s aesthetic appeal and create a peaceful atmosphere. By taking these steps, you can create a balcony that adds value to your home while providing a relaxing outdoor retreat for years.
Balcony Maintenance and Safety
As a balcony owner, ensuring it is well-maintained and safe for use is crucial. Here are some maintenance and safety tips for keeping your balcony in excellent condition:
Regular Maintenance Practices For Your Balcony:
Cleaning: Regularly clean your balcony to remove debris and prevent mold or mildew. Sweep away dirt and debris and wash the grime off the surface.
Inspection: Inspect your balcony for any signs of wear and tear, loose screws, or rusted railings. Fix them before they become a safety hazard.
Weatherproofing: Ensure your balcony is weatherproof to prevent water damage. Check for any leaks on the ceiling, floor, or walls.
Re-sealing: Re-seal your balcony after cleaning to prevent discoloration or damage from UV rays or moisture.
Tips For Keeping Your Balcony Safe:
Weight Capacity: Follow the weight capacity limit and remember that furniture can add weight to your railing.
Children and Pets: Ensure children do not climb the railing or play near the edge.
Grilling: Do not grill on your balcony; it can be a safety hazard.
Smoking: Avoid smoking on the balcony, and ensure all cigarettes are completely extinguished.
Common Problems with Balconies and How To Fix Them:
Cracked or Stained Concrete: Use a patching compound and resurface your balcony.
Rust: Sand and repaint metal railings.
Loose Handrail or Railing: Tighten screws and bolts or replace loose railings.
Water Damage: Caulk or seal all gaps and fix any leaks from the balcony.
Conclusion
Building a balcony can be a fun and rewarding DIY project that can enhance the value and livability of your home. Following this guide’s planning and construction steps, you can create a beautiful and functional outdoor space that suits your needs and style.
If you are looking for assistance with your balcony project, D & C Fence Co. can help you build your dream balcony with their expertise and quality materials. With their service, you can transform your outdoor space into a relaxing retreat that you’ll enjoy for years to come.